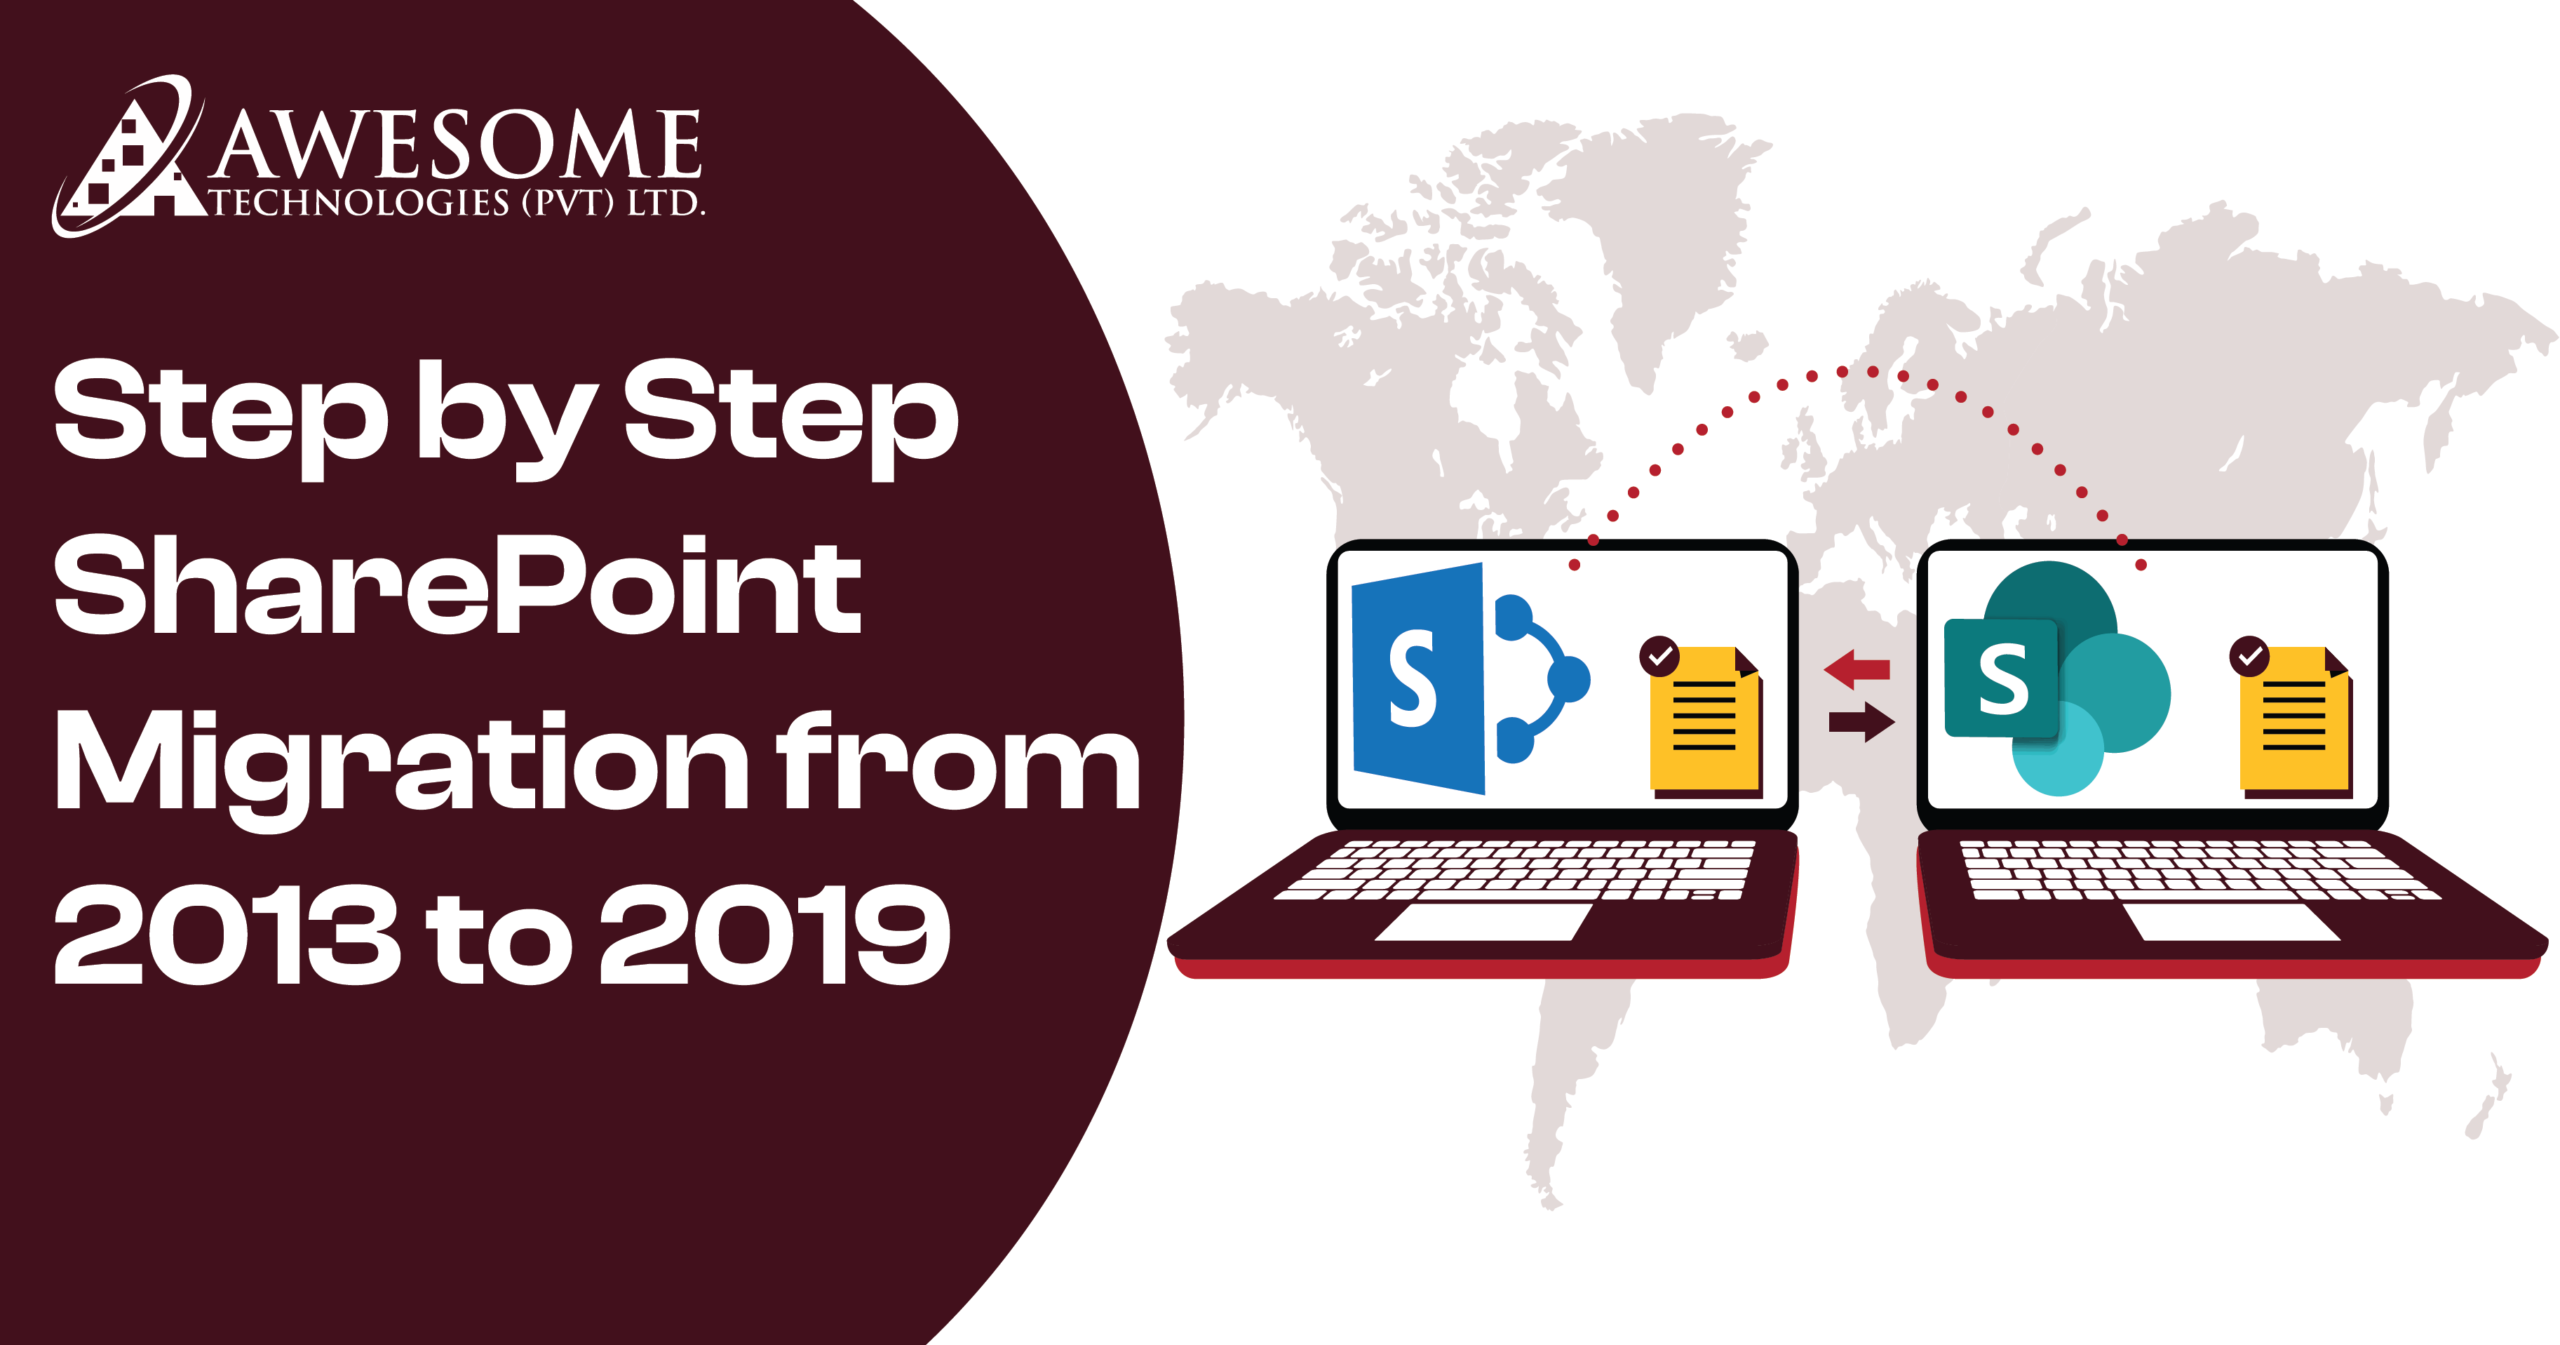
The current study shows that over 50% of organizations are planning to migrate SharePoint from 2013 to 2019. Yes, you heard right! Many organizations are taking this major step to migrate SharePoint 2013 to 2019, aiming to improve performance, long-term security, and new features.
However, the question here is why organizations need to upgrade from SharePoint 2013 to 2019. The main reason being that SharePoint 2013 is nearly at the end of its cycle, and all the updates and new features are updated only in SharePoint 2019. In other terms, it is essential for all business holders to shift to SharePoint 2019 as soon as possible to avoid operational delays.
In this blog, we will explore the whole procedure to migrate sharepoint 2013 to sharepoint 2019 step by step. We have listed below all the steps, from pre-migration planning to post-migration planning. Let’s understand the purpose of SharePoint development company.
Key Points
It is crucial to understand a few key points before further discussing the key sharepoint database migration step:
If you plan it right, on-premises sharepoint online migration steps will be half as complex; it is less difficult to restructure content during migration.
Post-migration support is essential; once you are in the latest SharePoint 2019 environment, you should check for anomalies.
One thing should be made clear, though: the objective of how to plan SharePoint 2019 migration in order to improve business productivity and collaboration.
Another important challenge is to do full research on your own on if it is even worth the hassle of migrating or not.
Choose the right providers: Make sure that the providers guarantee further help after the migration for you to contact them if any problems occur in the future.
Understanding the existing SharePoint 2013 environment
To estimate an accurate timeline, thoroughly and carefully evaluate your current SharePoint 2013 environment, including all of the following:
- Data, or information as structures: site collections, libraries, lists, content types and sizes.
- Adoptions and unlocking
- Current user roles, permissions, & security, there is no role segregation or permission-limited setting applied to any user’s account.
Why Migrate from SharePoint 2013 to 2019?
Before we talk about the steps, it is crucial to identify why you should upgrade from SharePoint 2013 to 2019. Let’s learn from the top reasons behind it:
- Improved User Interface and Experience
SharePoint 2019 comes with a new, improved user interface that makes SharePoint exciting and easy. SharePoint 2013 has some sloppy designs and user experience. However, with SharePoint 2019, users can experience responsive, easy-to-navigate experiences that enhance productivity.
- Better Performance
Upgrading your SharePoint 2013 platform to 2019 will improve its performance immensely. SharePoint 2019 is built for high-value data and large-scale organizations. It also enhances speed and gives faster results, so teams face no hassle searching documents and information.
- Security and Compliance
One of the top priorities for people are security concerns. SharePoint 2019 comes with more focused security aspects. For instance, updated features in SharePoint 2019 are authentication, better encryption, and secure data storing. Moreover, these updates are more important to those organizations that are operating in different locations that require compliance with different data privacy laws.
- Hybrid Cloud and how to migrate sharepoint 2013 to Office 365 Integration
The Office 365 connectivity of SharePoint 2019 allows corporate systems to have a flexible hybrid nature. But the steps for how to migrate SharePoint 2013 to Office 365 are simple. Additionally, if you are considering migrating some of your workloads to the cloud, then SharePoint 2019 supports working in a hybrid mode in order to link up with cloud solutions.
- Microsoft Support and Updates
SharePoint 2013 has come off the support timeline, and upgrading to SharePoint 2019 puts you back into the Microsoft support time frame. Moreover, you will get the security fixes, the features, and a reliable environment, which means that you don’t need to worry about your business goals.
Migrate SharePoint 2010 to 2019: A Detailed Guideline
There was a time when upgrading from SharePoint 2010 to SharePoint 2019 was termed as an important step for organizations looking to improve their performance, modernize features and enhance security standards by directly from SharePoint 2010 to SharePoint 2019 migration, however that was not possible to perform therefore a technical process was strictly followed to assure accurate alignment is every aspect.
Important factors to consider while performing SharePoint migration from 2010 to 2019
Migrating to SharePoint 2019 brings several positive outcomes that we have listed below:
- Modern user experience with enhanced UI and a design which is easily adaptable over mobile applications
- Better security with latest updates and compliance
- Great performance with quick page loads and optimized workflows
- Cloud integration and seamless hybrid integration with office 365
From SharePoint 2010 to 2019 migration is key for better security, modern user experience and improved functionality. With SharePoint 2010 reaching end-of-support, organizations face security risks and compliance challenges. SharePoint 2019 offers a responsive design for good scalability, hybrid cloud integration and advanced features like PowerApps and modern team sites. It supports improved mobile accessibility and automation tools streamlines collaboration between teams, making it a vital SharePoint 2013 upgrade to 2019 necessary for business looking for strong competitive edge and best security practices. When Microsoft officially ended support for SharePoint 2013 migration to SharePoint 2019, meaning there was no proper security updates or bug fixes or technical support available for upgrading. Migrating ensures that your system and key tools integrated within remain protected against potential risk of compliance or security breaches. As SharePoint 2010 to 2019 migration offers best security features that include better authentication methods or enhanced data encryption and better compliance tools. All these features are highly important for organizations to meet regulatory standards.
Furthermore, The UI in SharePoint 2019 is significantly improved with a better responsive and easy to navigate interface that improves usage via desktops and mobile devices equally. Users can greatly benefit from better navigation, updated web parts and simple user experience. Unlike SharePoint 2010, which had limited mobile adaptable features, SharePoint 2019 is built for mobile first experience, making it simple for teams to collaborate from anywhere and it any convenient time. With brand new features and modern functionalities for team sites and communication sites, SharePoint 2013 upgrade to 2019 brings tools that enhance automation, collaboration and document management for the team. Organizations looking to integrate or adopt a hybrid cloud strategy benefit from seamless integration with how to migrate SharePoint 2013 to office 365 and other cloud services. This allows better document management and easy collaboration space with utmost flexibility for all.
Still thinking about it? Let Awesome Technologies Inc. guide you through this transition!
Now that we know why upgrading is crucial, let’s begin to understand how to do the Sharepoint 2013 to 2019 migration step by step:
Step 1: Plan Your SharePoint 2013 to 2019 Migration
The first thing is to plan your migration, and this is one of the important phases of SharePoint migration from 2013 to 2019. The structure you plan will help to smooth migration.
Here’s how to get started:
1.1 Assess Your Existing SharePoint 2013 Environment
First, you need to assess your current position in SharePoint 2013 migration and implementation. Take a detailed look at the following factors we have listed below:
- Site collections: Determine which site collections should be migrated and which ones could be archived or deleted.
- Custom solutions: Explore all options and settings that relate to SharePoint activity and any extra tools, changes, or additions for SharePoint 2013 migration. Evaluate if these can run on SharePoint 2019 or determine that these require redevelopment.
- Databases: Check the size of your SharePoint 2013 databases and decide whether your new environment will be able to support their amount.
An initial audit will assist you in discovering what precisely will have to be migrated and what can be excluded from migration.
1.2 Set Clear Migration Goals
However, ensure that before making any concrete move towards migration, you state your goals clearly. Some typical goals include:
- Data preservation: Check that all documents, lists, libraries, and even metadata are imported well.
- Minimize downtime: Schedule your migration strategically so that you least interfere with your users’ usage of the application.
- Preserve customizations: Make sure customization elements such as workflows, features, and permissions are synchronized and migrated correctly into SharePoint 2019.
Having a goal in place will help in the organization of the process and therefore make the migration more effective.
1.3 Select Your Migration Method
There are many methods when it involves SharePoint 2013 to SharePoint 2019 migration. The method you are opting for depends on your specific requirements by the nature of your needs as well as the financial constraints in your form of implementing SharePoint environment size.
- In-Place Upgrade: This method enhances your current environment hosting SharePoint 2013 and makes it SharePoint 2019a.
- Database Attach Method: This entails disconnecting databases of SharePoint 2013 from the SharePoint product and then coupling it with the SharePoint 2019 platform.
- Hybrid Migration: When adopting cloud solutions for more organizations, the good choice is to use SharePoint 2019 side by side with Office 365.
1.4 Back Up Your SharePoint 2013 Data
Always back up your data before migrating. This includes:
- SharePoint Database migration: This comprises your content, configuration, and service application databases.
- Customizations and Solutions: Back up any custom workflow created, solutions, and any add-ins acquired from third parties.
- User Permissions and Security Settings: Make sure you have a record of all user permissions and access controls.
The reason for backup is to ensure you have a way to restore the data for security.
Step 2: Prepare Your SharePoint 2019 Environment
With the backup done now, you need to configure your SharePoint 2019 environment in the next lesson. Here’s how to set things up:
2.1 Install SharePoint 2019
First of all, you should strongly ensure SharePoint 2019 installation on your servers. This is a reminder that your hardware and software must be compatible with SharePoint 2019 requirements. Make your environment properly by following the installation guide of Microsoft.
2.2 Configure Databases and Service Accounts
You should now create/set up your SharePoint 2019 web applications, service accounts and databases. Make sure your configuration is following up on your migration objectives. Also, remember that SharePoint 2019 came out with specific database versions and settings, so make sure to check compatibility.
2.3 Test Compatibility
Some workspace features that used to be integrated with SharePoint 2013 might not be used in SharePoint 2019. In other words, every feature and element learned in SharePoint 2013 should be originally tested and observed in SharePoint 2019. Modify as needed the custom solutions created.
Step 3: Run a Test Migration
As soon as you prepare your SharePoint 2019 environment, make sure to perform a test migration. This is why, if the concept of test migration is possible, you should make sure that the process is smooth before migrating all your data. Here’s what you need to do:
3.1 Migrate a Small Set of Data
If you’re uncertain how your data will behave after migrating to SharePoint, begin by migrating a small portion of your information, for example, one site collection or maybe two to five document libraries. This should be the first trial run in preparation for the actual migration, introducing flaws and difficulties into the process.
3.2 Check for Data Loss or Corruption
This is important because data is often the most valuable asset in an organization, and any loss of data during the testing phase can prove catastrophic to an organization. Verify physical transfer of all documents and their related metadata and any new solutions developed are in the new location.
3.3 Validate Functionality
Make sure you will have a copy of all your customized workflows, features, and permissions before migrating. Make sure that after you are done, people are able to get to the material and verify that everything works as it should.
Step 4: SharePoint migration 2013 to 2019
Now that you have successfully completed the migration test, it is now possible to migrate all data to SharePoint 2019. Depending on the method you’ve selected, you can:
4.1 Database Attach Method
This is commonly one of the quickest and most efficient methods of translating big environments from one location to another. This ought to be done by pulling your SharePoint 2013 databases out and linking them to your SharePoint 2019 infrastructure. This will cause the SharePoint database migration to be updated when attached during the process as well.
4.2 SharePoint Migration Tool (SPMT)
If you are open to an easy-to-use free option, then Microsoft’s SharePoint Migration Tool (SPMT) is a good option. This tool allows transferring the data from SharePoint migration 2013 to 2019, which makes this tool beneficial for smaller migrations.
4.3 Third-Party Tools
If you find difficulty while migrating, then opting for ShareGate and Metalogix are the tools that ease out your hurdles. The advantages of these tools are reporting and bulk migration support.
Step 5: Validate Your Migration
Once the migration is complete, it’s time to validate the results.
- Check Content Integrity: Make sure that all the contents, documents, and metadata have been safely transferred without any loss.
- Review Permissions and Customizations: Ensure that the users’ permissions are as you set, and the workflows and customizations, too, are not wiped out during the migration process.
- Test Functionality: Ensure that all SharePoint features and working functionalities of SharePoint and 2019 are in order.
Step 6: Post-Migration Cleanup
Now comes the phase of essential cleanup after such migration. This includes:
Deleting Obsolete Data: Delete archives from SharePoint 2013 that should no longer be there.
Reconfigure Permissions: Monitor and, if necessary, change the aforementioned permissions in order to meet the requirements of your organization.
Optimize Performance: You need to perform several performance tests to verify that your SharePoint 2019 site collection is stable.
Key Considerations for a Successful SharePoint Migration from 2013 to 2019
SharePoint migration services is about the transfer of data between two versions, particularly between SharePoint 2013 and 2019; migrating means embracing some imperative factors that will assist the process. What it really means, in fact, is not the migration; migration is not an end. The goal is to have the same workflows and security policies; future use and usability of data in a new environment is also a goal. Here are a few essential factors to keep in mind:
- Pre-Migration Planning: In order to ensure smooth and error-free transition to upgrade from SharePoint 2013 to 2019, having a SharePoint 2013 migration plan will see the operation meet all the areas that need to be addressed.
- Post-Migration Support: However, once a user has migrated to SharePoint 2019, it is advisable to receive technical support from time to time because the environment depends a lot on how your business environment will be.
- Cost-Benefit Analysis: Estimating the costs that would be generated on your end—possibly the additional tool or service—and considering the advantages of the transition to SharePoint 2019.
Detailed Checklist for Your SharePoint 2013 to 2019 Migration step by step
An elaborate checklist helps to understand important guidelines required to upgrade SharePoint 2013 to SharePoint 2019. These steps will help you ensure no important detail is overlooked:
- Review Existing SharePoint 2013 Infrastructure
Before migrating, take the time to better understand the size, structure, and functionality of your current SharePoint 2013 environment. This includes:
There is a need to identify those site collections that may require migration.
Reviewing specific solutions developed for a company and third-party connections.
Provided an evaluation of users’ roles and permissions.
- Assess SharePoint Database Migration Needs
For SharePoint databases migration, check the databases’ health and ensure they’re appropriate for SharePoint 2019.
- Choose Your Migration Method
Depending on your organization requirements, choose your preferred method, that is, the in-place upgrade method, the database attach method, or a combined migration.
- Backup Everything
Make sure to have contingency copies for all the contents, solutions, processes, and settings of your Dynamics 365 environment.
In case of any problem, this backup will help you to stay safe.
- Check Compatibility
Another strategy is to validate all the custom solutions and all the main features of SharePoint 2019.
Best Practices for SharePoint Migration Services

This review shows that where SharePoint migration services are concerned, it is important to select a vendor who is knowledgeable about the differences between SharePoint 2013 and 2019. Here are some best practices:
Experience and expertise: Make sure your provider is familiar with various large-scale migration projects and has rich knowledge about the peculiarities of SharePoint 2013 upgrade to 2019.
Post-migration: prefer services that can be followed by post-migration management and support services.
Customization Support: If your SharePoint 2013 environment is heavily customized, then select the SharePoint migration services that will work well when migrating the environment to SharePoint 2019.
SharePoint Database Migration: Handling Data Safely
When making a decision on SharePoint migration services, it is crucial to identify the carrier that can offer migration from SharePoint 2013 upgrade to 2019. Here are some best practices:
Experience and expertise: Writing in Information Week, Ed headed a piece called ‘SharePoint 2010 to 2019 migration: Choose your migration partner carefully’ to advise on how to go about getting the best provider.
Post-migration: select providers that provide after-implementation support services.
Customization Support for SharePoint migration service provider: It is essential to choose a SharePoint migration service provider if your SharePoint 2013 environment has a lot of customizations because the provider will ensure that they deal with them when migrating to SharePoint 2019.
Common Issues During SharePoint Migration 2013 to 2019
It is possible to come across some problems while performing the SharePoint 2013 to 2019 migration step-by-step, even if all the steps have been thoroughly prepared. Here are some common problems and how to solve them:
- Data loss or corruption
To protect critical data required to business operations, you must ensure that the backup strategy is good. It’s also important to always conduct test migrations using a small sample of data to ensure that the data is not lost.
- Compatibility Issues with Custom Solutions
Features, capabilities, or workflows created in SharePoint 2013 may not run in SharePoint 2019 without adjustments. The best way is to perform tests of all the modifications in advance.
- Performance Problems
It is only natural, after migration is complete, that you evaluate the performance of the newly implemented SharePoint 2019 environment. Utilize optimization tools to check the site and make sure there is no problem running the site.
Advanced Tips for a Smooth SharePoint 2013 Upgrade to 2019
For those who want to dive deeper into the SharePoint 2013 upgrade to 2019, here are some advanced tips to ensure a seamless migration:
| PRO TIP | if using tools like SharePoint migration services or tools (SPMT), Sharegate or metalogix, do configure settings based on your requirements |
| Use of migration tools | If migrating to a hybrid model, ensure SharePoint 2019 is fully synchronized with Office 365 and other cloud platforms |
| Optimize metadata | Ensure metadata is correctly transferred and integrated into SharePoint 2019 to enhance search functionality and user interaction |
| Hybrid configurations | If migrating to a hybrid model, ensure SharePoint 2019 is fully synchronized with office 365 and other cloud platforms |
Wrapping Up: Successfully Migrate SharePoint 2013 to 2019
The SharePoint 2013 migration to SharePoint 2019 may be complex, but the following steps and planning make it easier. By following migrate SharePoint 2013 to SharePoint 2019 step-by-step, you will be able to migrate SharePoint 2013 to 2019 successfully without losing any important data. In addition, by getting help from a third party, there is a lesser chance of facing unwanted obstacles in SharePoint migration services.

